How to Turn a Simple Tile Into a Beautiful Piece of Art!
And it’s easier than you might think.
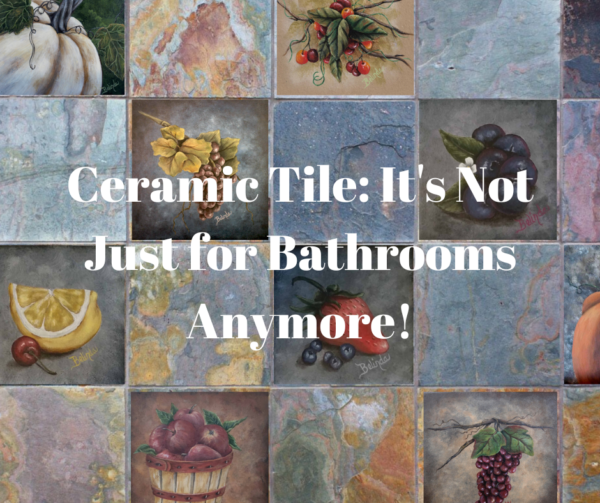
Ceramic tile has been a popular decorative element for centuries, as a way of adding elegance and style to homes and businesses. It comes in styles as simple as shiny subway tile that is seen everyday in bathrooms and kitchens, all the way up to intricate mosaics that are astounding and awe-inspiring artworks. The versatility and durability of ceramic tile adds to the beauty of it. Ceramic tile doesn’t just have to be a cheap and easy way to cover your floors and walls, it can be a work of art all it’s own. Painting on ceramic tile has become my favorite “canvas” to work on. There are so many uses for tile, and not just for walls and floors, but also coasters, mosaics, firepits, patios, trivets, furniture, etc. Those are the functional uses, but they also have decorative uses: displayed on easels, framed and hung on the wall, and, of course, installed as decorative wall or backsplash.
Painting on tile is not as hard as you think and I can lead you through the steps that I go through everyday to create every piece in my portfolio. And what’s even better is that there is NO FIRING REQUIRED! So whether you are a crafter or an artist or just want to feel like one, or if you are looking for a new medium to create your works of art, this step by step process will walk you through everything that you need to know. So let’s get started.
Step 1: Finding the Perfect Tile
Ceramic Tile Textures and Uses
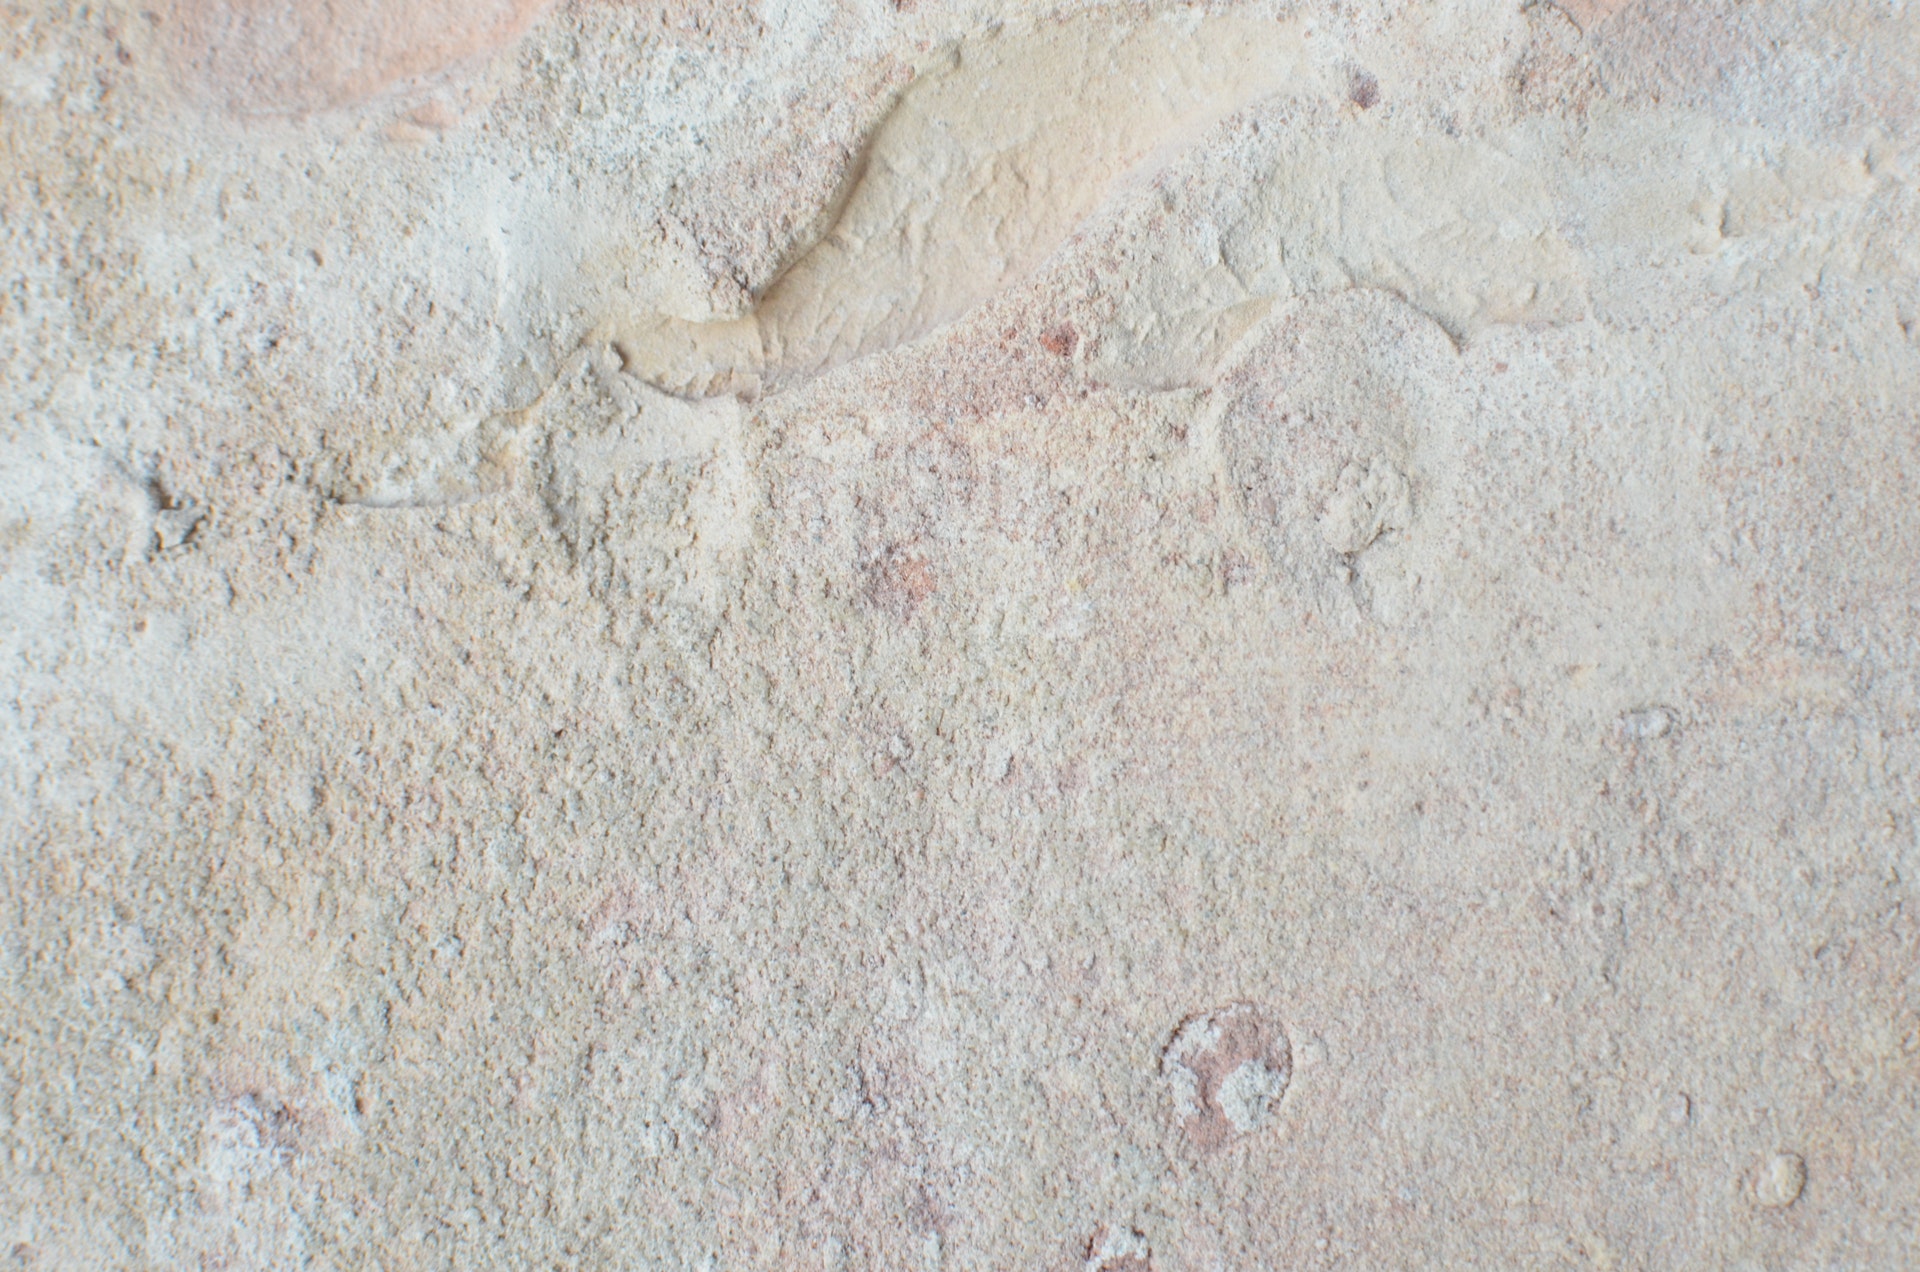
There are as many tiles out there as there are uses, and most are great for painting on, but you need to be aware of a couple of things. One thing that you need to conscious of is the type of sealer that is used. Many tiles are fired with a shiny glaze that makes it heat and moisture resistant. These types of tiles are great for showers and other high moisture areas because they keep mold and mildew from growing and becoming a health hazard, which is great for you and your family but not if you are trying to create a work of art.
These types of tiles are commonly called Subway Tiles, because they most often seen in subways and other high-traffic areas. The problem with them is that because the glaze is fired onto the tile it creates a permanent gloss that keeps paint from sticking to the surface.
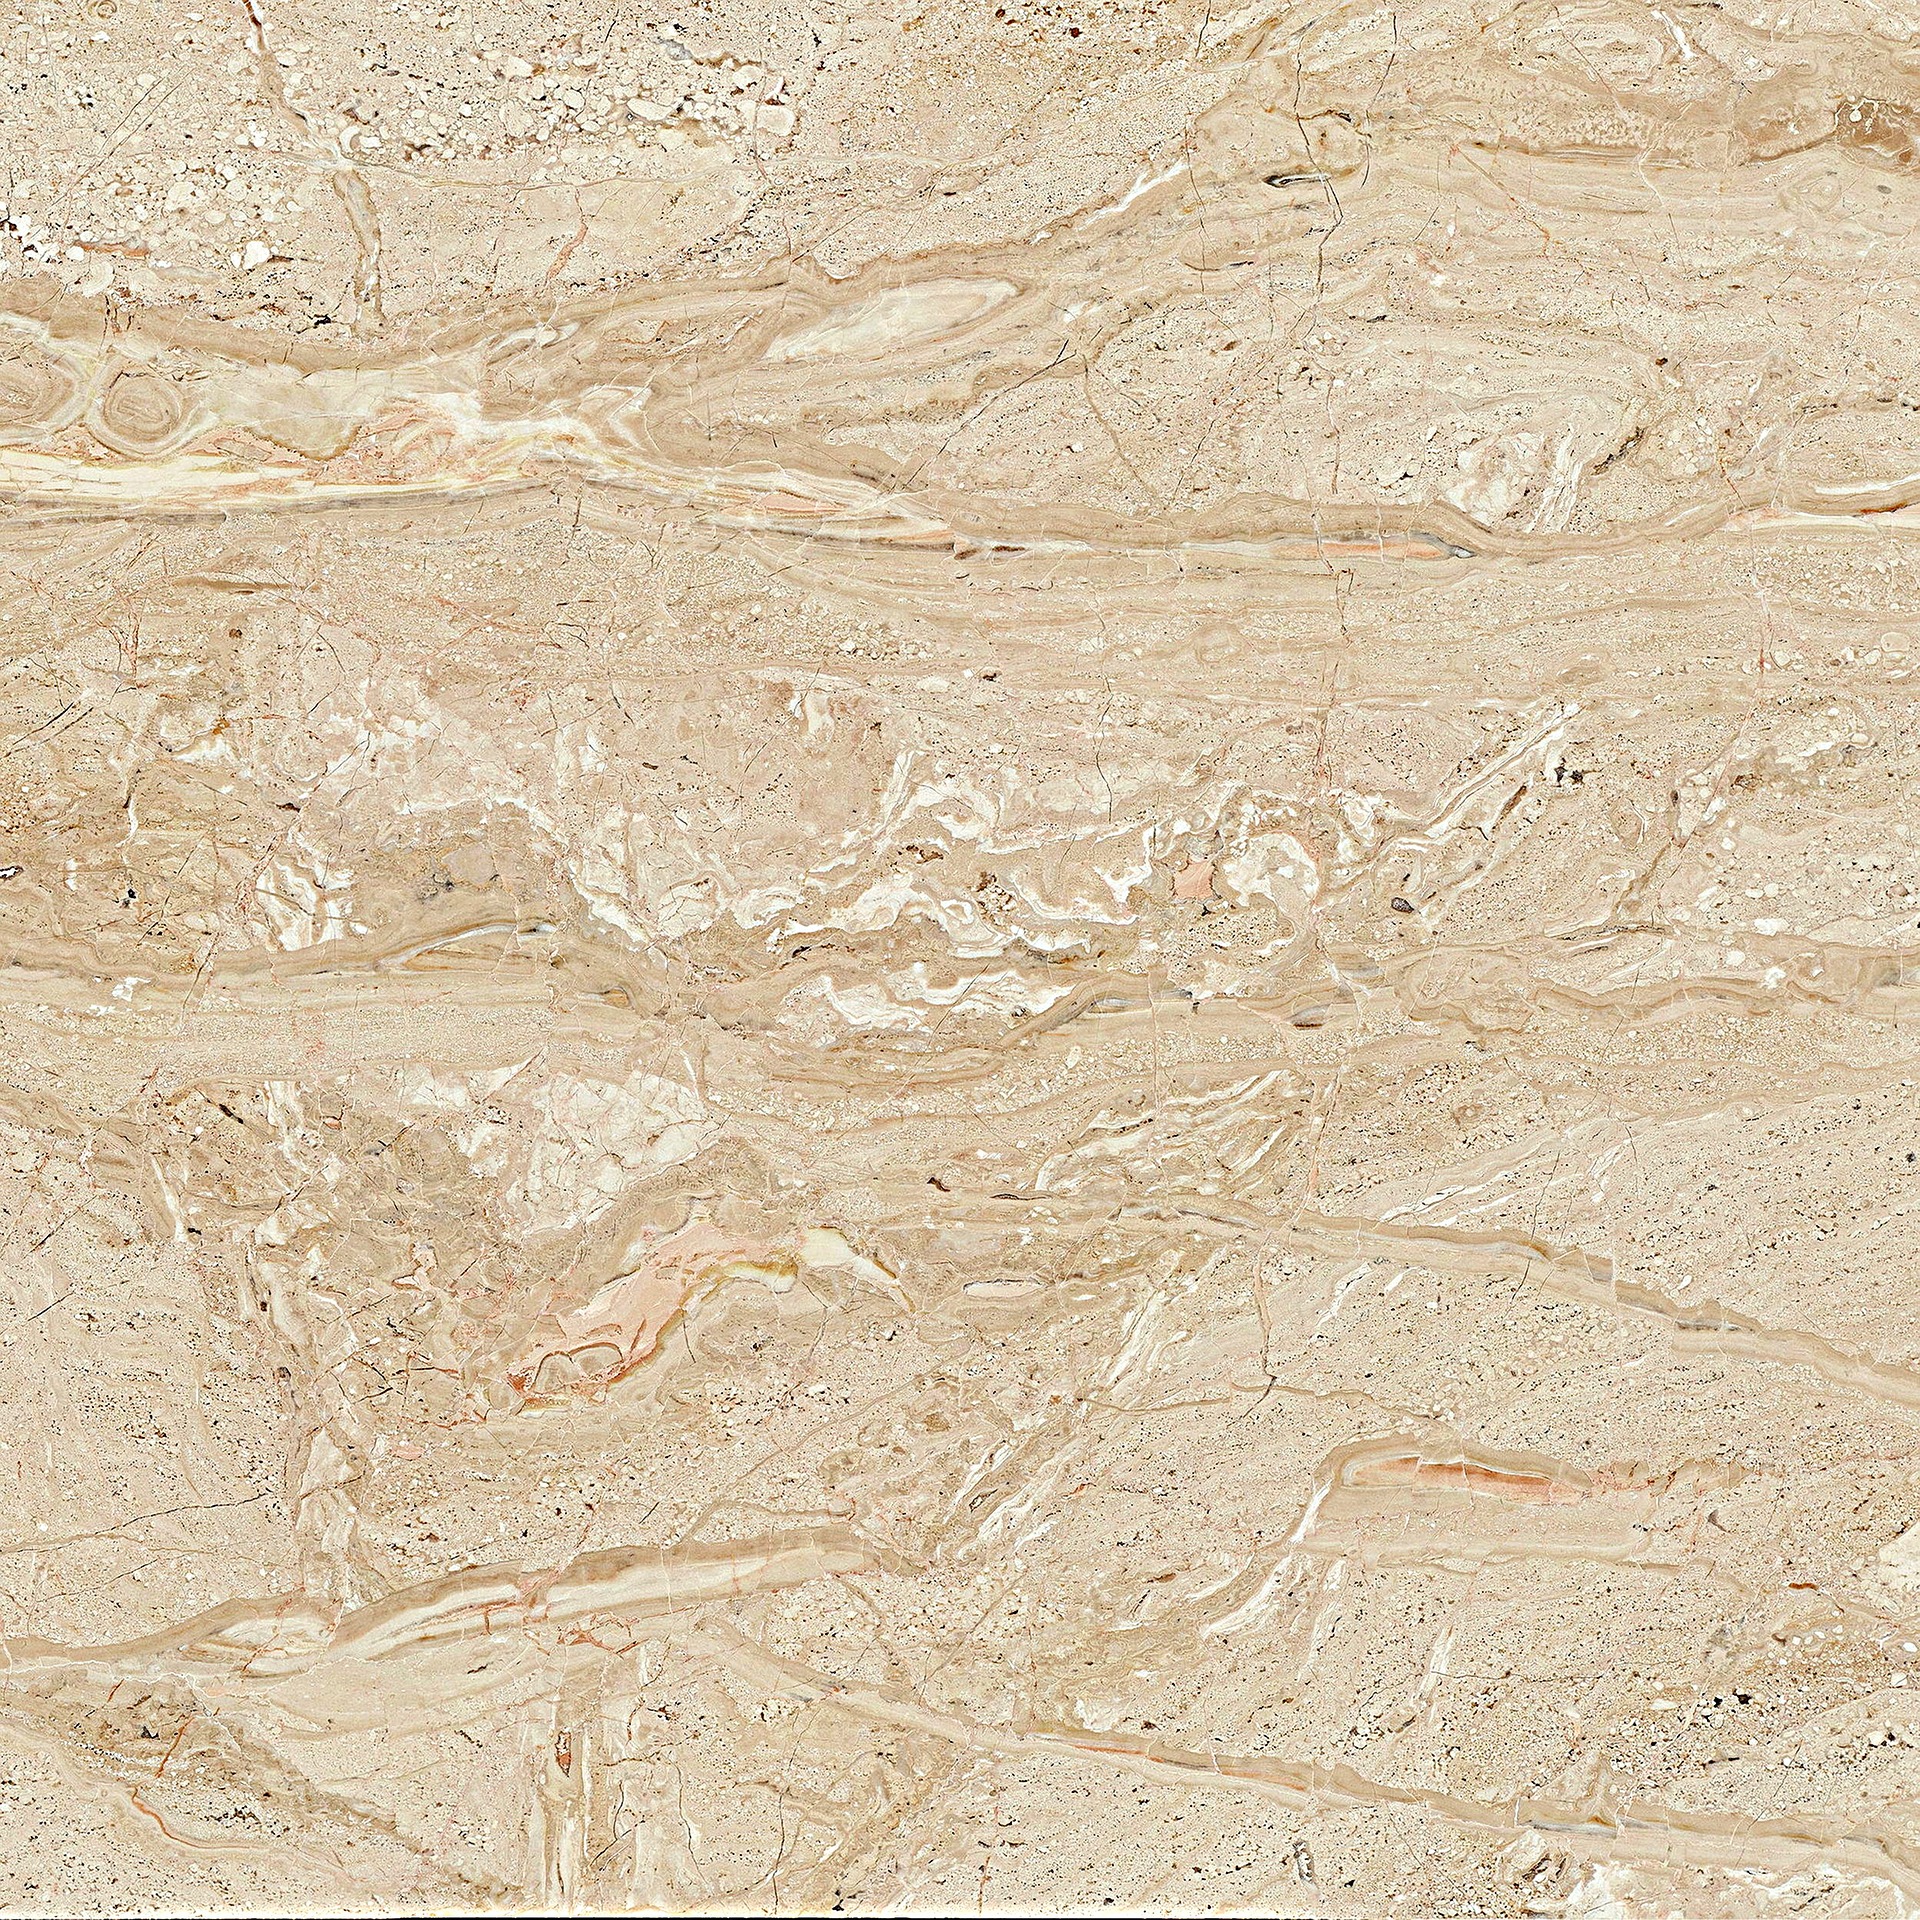
So what you want to look for is a tile that has a more textured, less glossy finish to it. I’ll explain why in a minute.
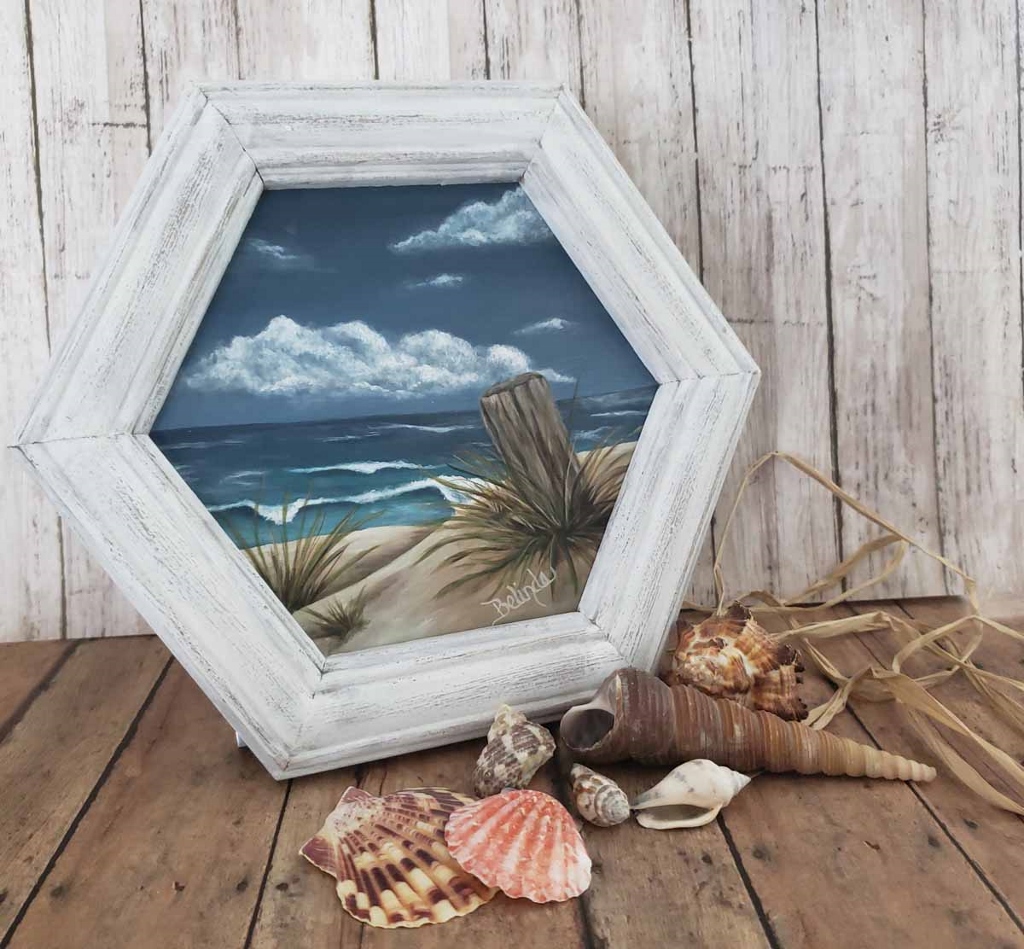
The next thing that you need to be conscious of is the size of the tile. Tiles come in a wide variety of sizes and shapes. Some are standard sizes, like 8″ x 8″ or 8″ x 10″, which will fit in a picture frame if that is what you’re looking for, but there are also odd sizes like 9″ x 16″ or shapes like a circle or a hexagon. As long as they don’t have a glossy glaze, like what I talked about before, they can be painted on.
So let’s get started…
Step 2: Prep
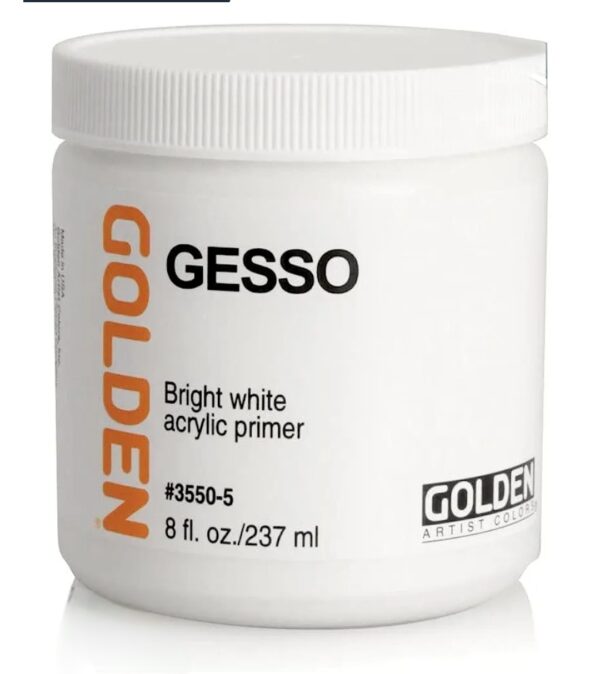
Liquitex Acrylic Gesso – White
8″ x 8″ Ceramic Tile
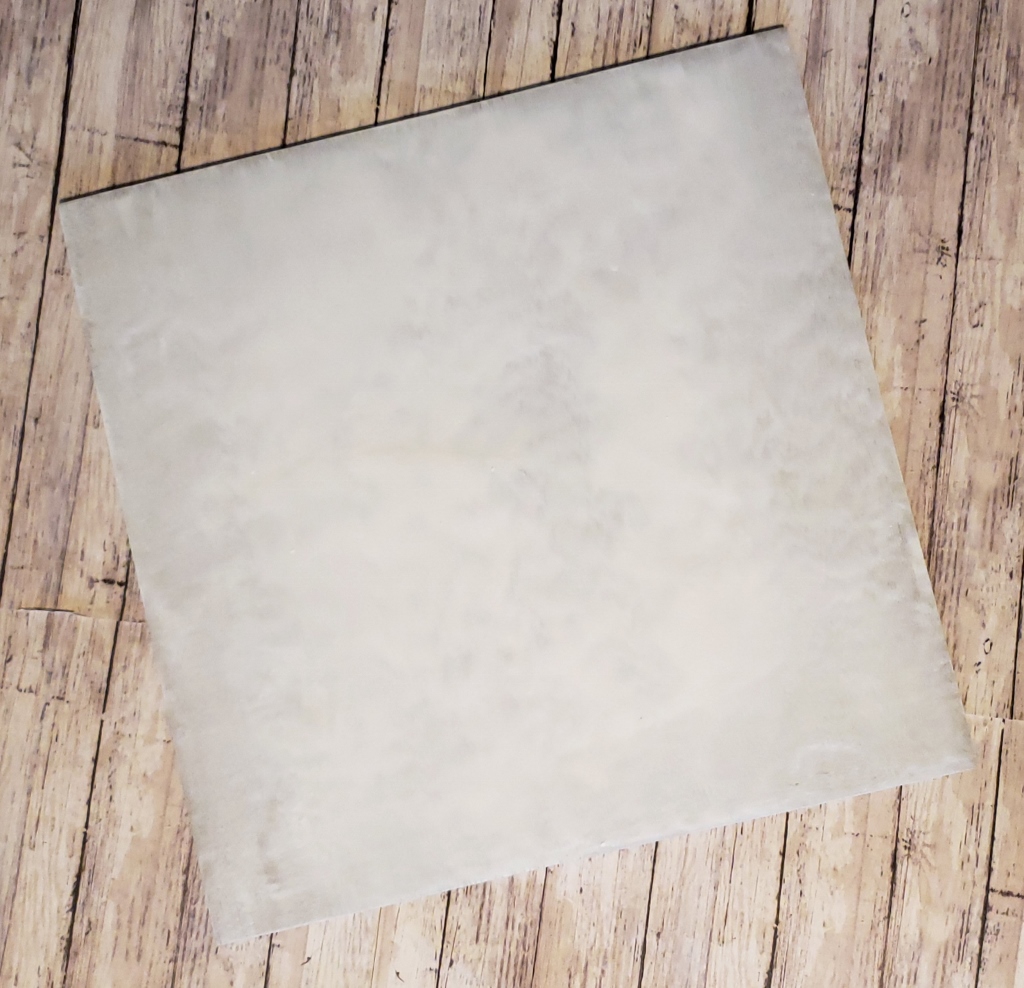
Once you have picked the size and type of tile you want to use, clean your tile with a damp cloth to get all the dust and dirt off. Then with a wide brush (I use a 2″ wide brush) prime your tile with a thin, even layer of gesso. Brands like Golden and Liquitex, are high-quality gessos that add a flat textured surface for your paint to stick to. Lower quality gessos will also work, but just know that you will need to add 3-4 layers, making sure that each layer dries between coats. You can find gesso at any hobby or craft store, in sizes of 4 oz. all the way up to a gallon.
Now when spreading gesso, to get a very smooth and even finish work in long, continuous strokes from one end of the tile to the other. You want to make sure that the gesso is completely dry before painting the tile, so I like to let it set overnight so that it has time to dry and cure completely. Then once the gesso is dry, lightly sand the tile with a fine 220-grit sandpaper. Now you’re ready to move on to Step 3.
Step 3: Adding Paint
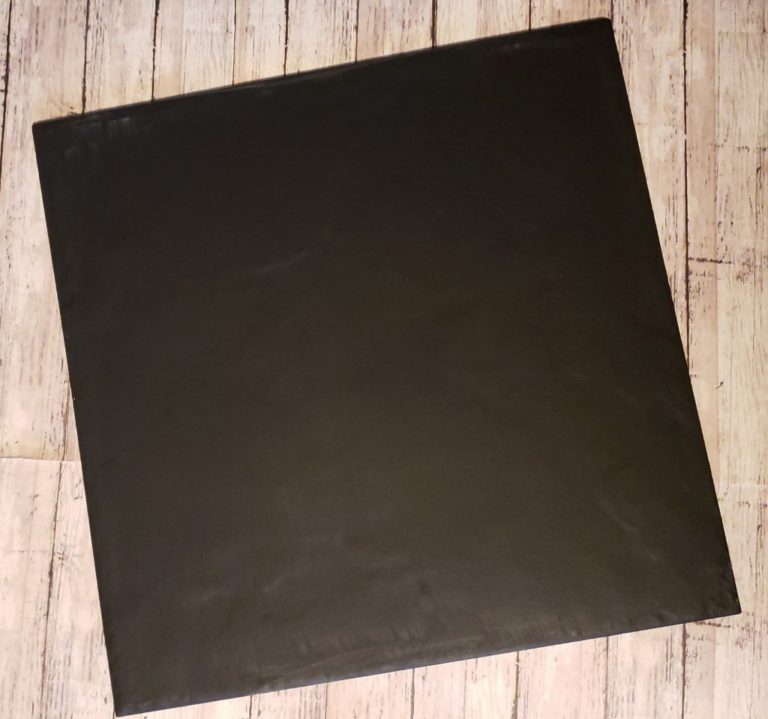
Black base coat
Before creating your work of art add a solid coat of paint as a base coat. I like to paint in muted tones so I always base coat my tiles with black. You can use whatever color that goes best with your style, gray, green, white or you can just start painting on top of the gesso layer.
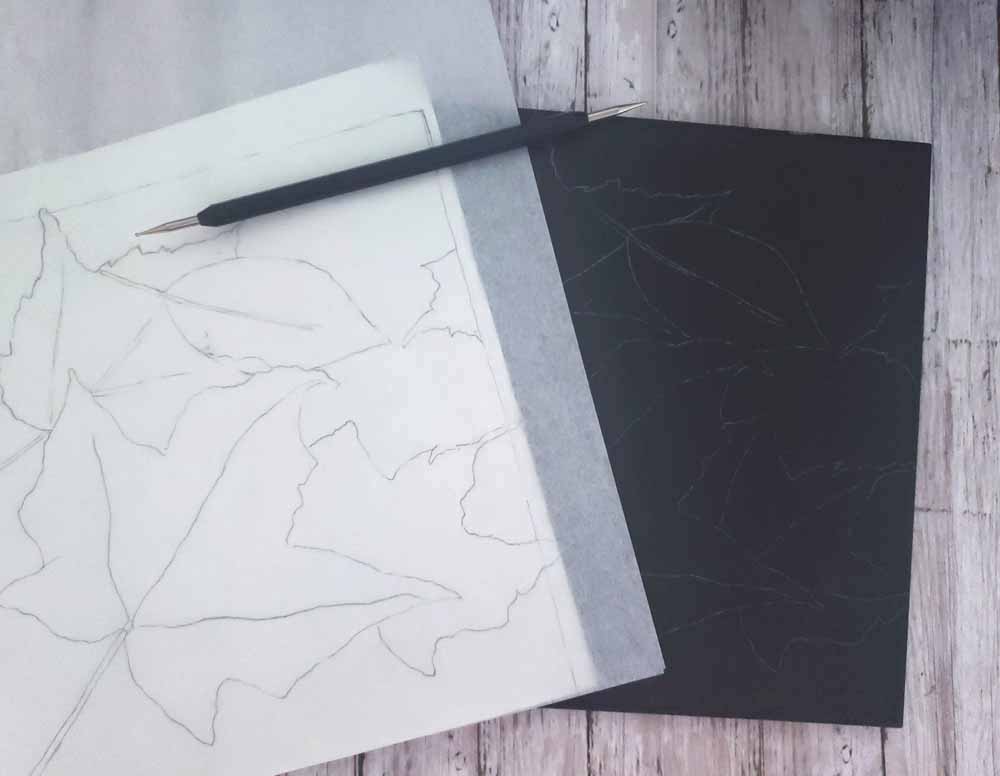
Next you have a choice to make: what to paint on your tile. As an artist I work out the placement of everything ahead of time with a quick sketch and then transfer the design to my tile.
Step 4: Transfering Sketch
If it’s a simple outline sketch I will recreate it onto the tile with a white charcoal pencil or I will use tracing paper and white graphite transfer paper.
With the tracing paper over the transfer paper use a stylus and trace around the design. When finished you will have a light outline of your design and are ready to move on to painting.
Tracing and White Graphite Transfer Papers
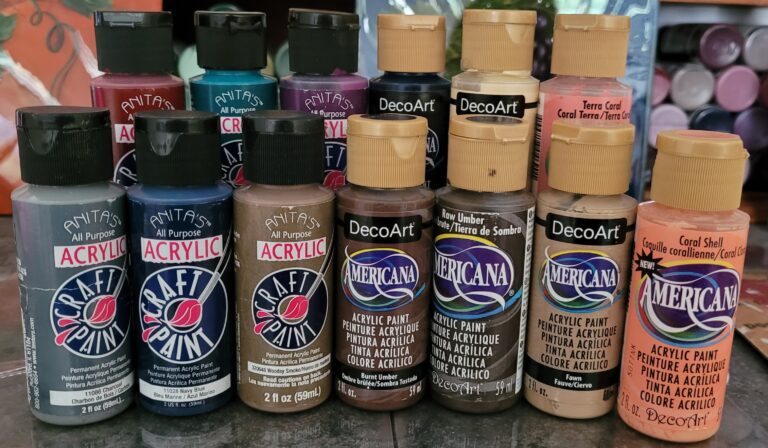
Americana and Anita’s Acrylic Paint
There are lots of different kinds acrylic paints out there that can be used to paint ceramic tile, and I have tried them all, but the kind that I have found that works best is the paints from brands like Americana and Anita’s, aka “craft paint”. Craft paint sometimes gets a bad rap, but I love this paint. It has the perfect consistency to work on tile and you can find the perfect color for what you need. I have used artist-quality paint that is perfect for working on canvas, which has a thicker consistency to work into the weave, but needs to be thinned out to work on tile and in doing that has a tendency to fight you and not stick to the tile. So, as a rule, I just use those paints when I work on canvas.
Step 5: Finishing
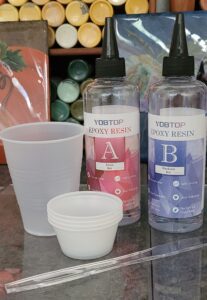
After you have finished your piece, the next step is adding a finish. I use epoxy resin. Epoxy is a two-step process that includes a resin and a hardener that when combined dries and creates a glossy, mirror-like finish that is heat, cold and moisture resistant.
Make sure you wear gloves and work in a well-ventilated area for this part.
Cover a table with a vinyl tablecloth, cardboard or anything else disposable so that your table doesn’t get ruined. Set your tile on a box that is smaller than the tile so that resin can drain over the side and won’t stick to the surface.
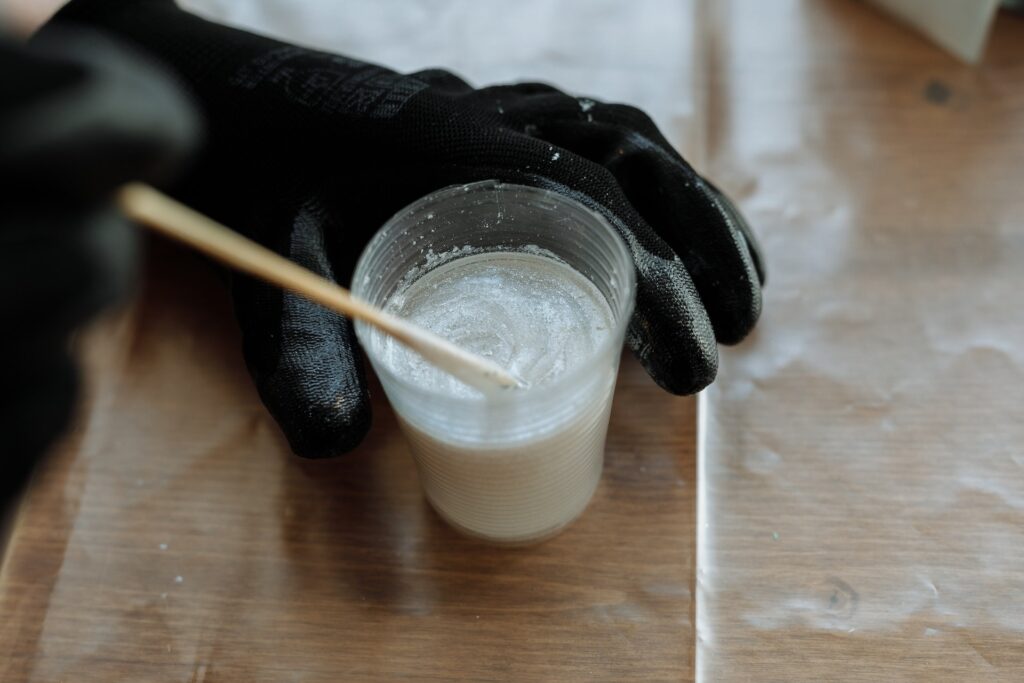
Measure the resin and hardener and pour into a cup in EQUAL amounts. (Equal amounts is extremely important, because if they aren’t then the resin will not dry. After using resin for several years, it still happens to me).
Stir the two together. Most people will suggest using a wooden stick, but I use a plastic knife or spoon. This is very important. Wood is porous and will add air to the mixture and that causes bubbles, which is something that you want to keep to a minimum. Using plastic helps with that.
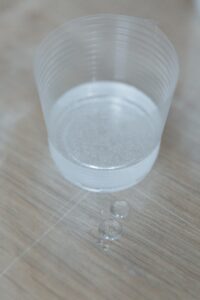
Next pour the resin over the tile and smooth out in an even layer with the back of a spoon. In a few minutes the resin will start to create tiny bubbles (not the song). That’s where the heat gun comes in. Wave the heat gun about 6-12 inches over the surface of the tile to pop the bubbles that form in the resin. The bubbles form because the resin is exposed to air and creates a chemical reaction. Heat pops the bubbles and keeps them from reforming. Once the bubbles are gone leave the tile for at least 24-48 hours to dry and cure.
Once dry check to see if the finish is smooth and free of any imperfections. If there are any, sand the areas with a fine grain sandpaper (220 grit), add another layer of resin and repeat the process.
Epoxy Resin and Hardener
Non-Yellowing and Bubble Free
Mixing epoxy resin.
Heat gun
Tiny bubbles.
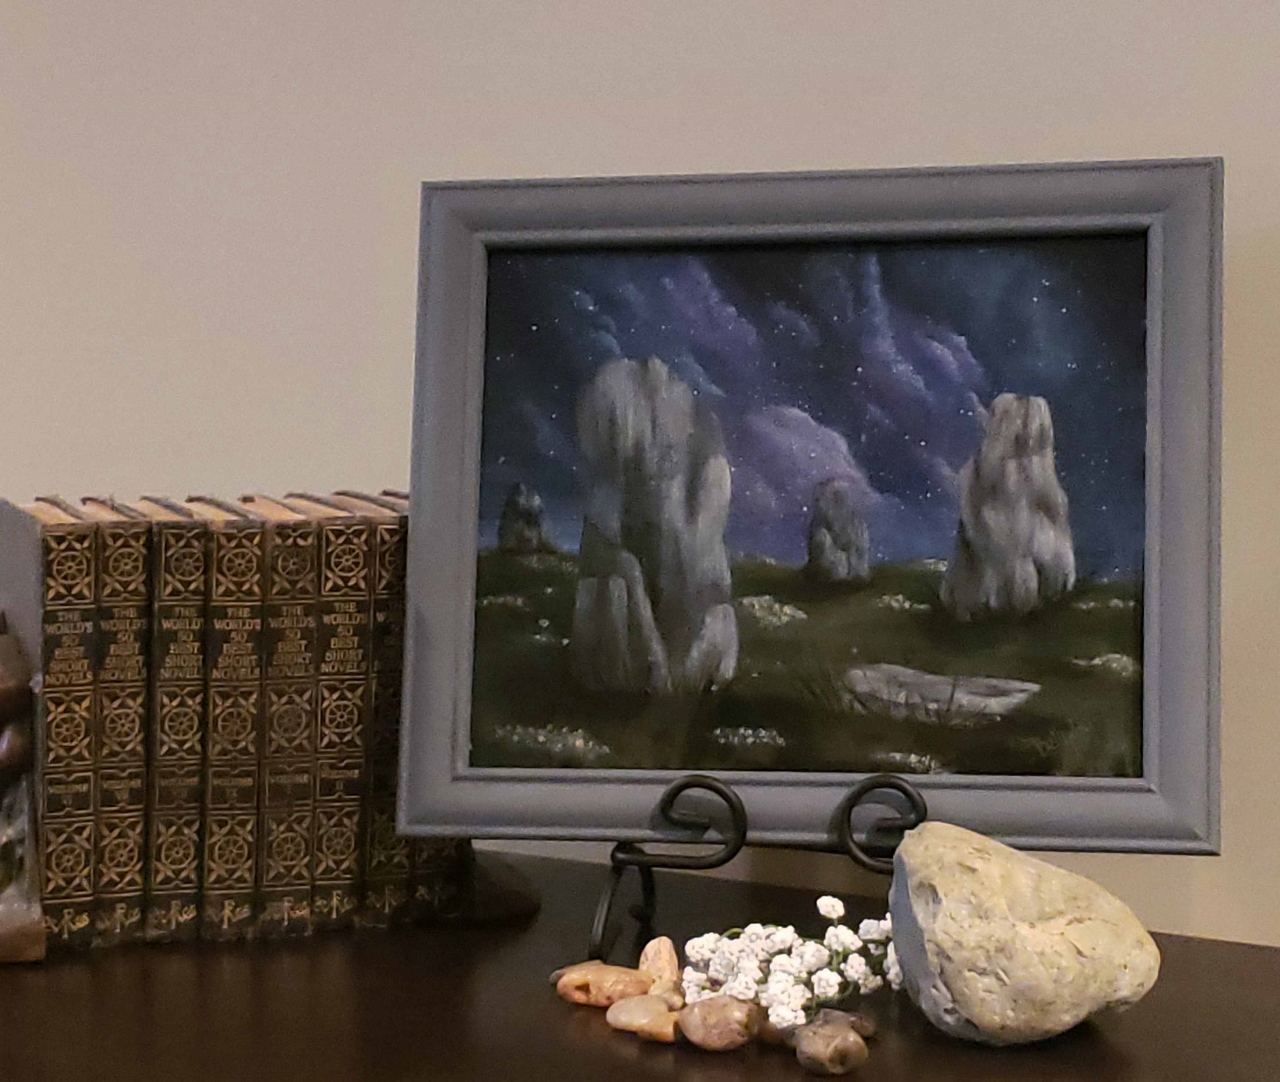
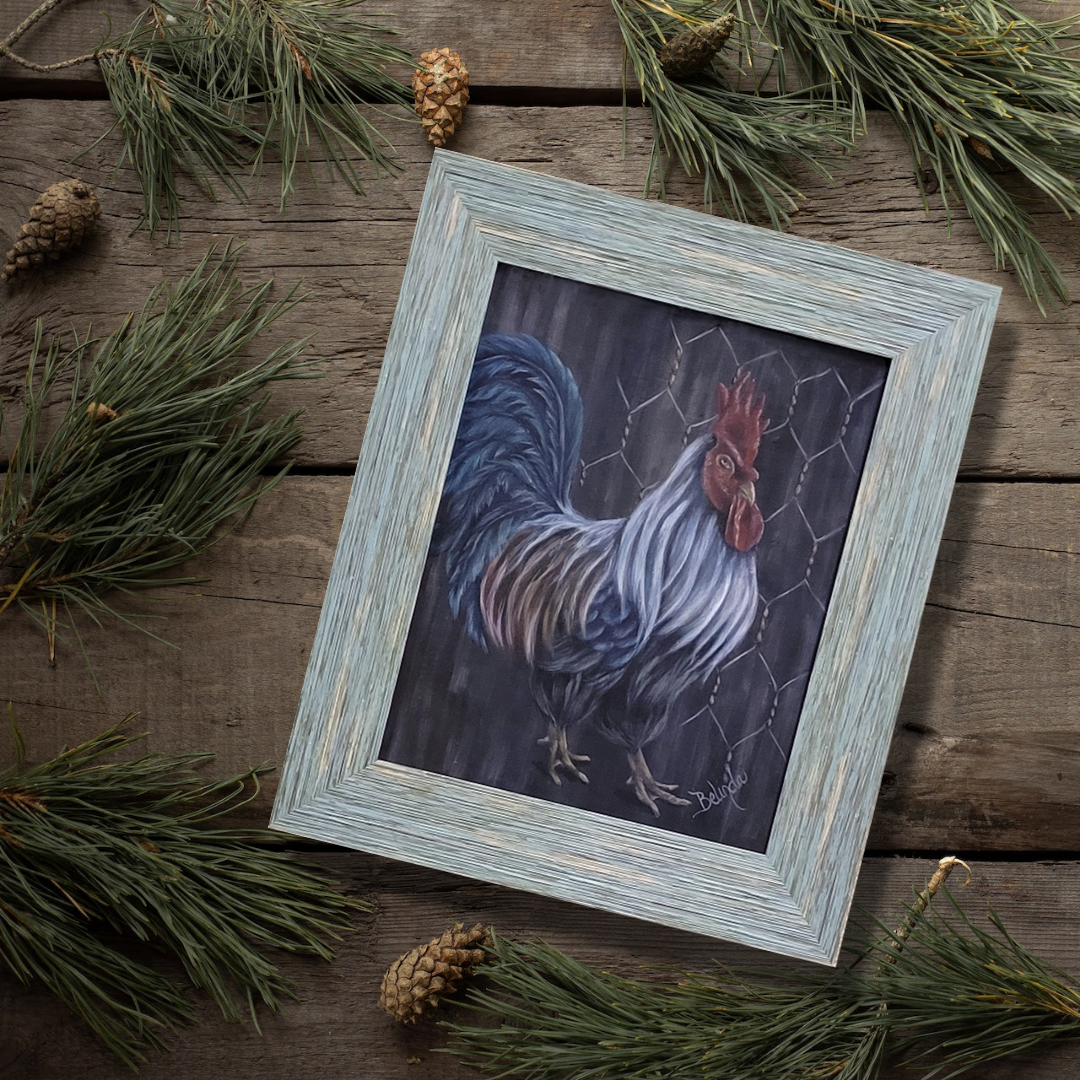
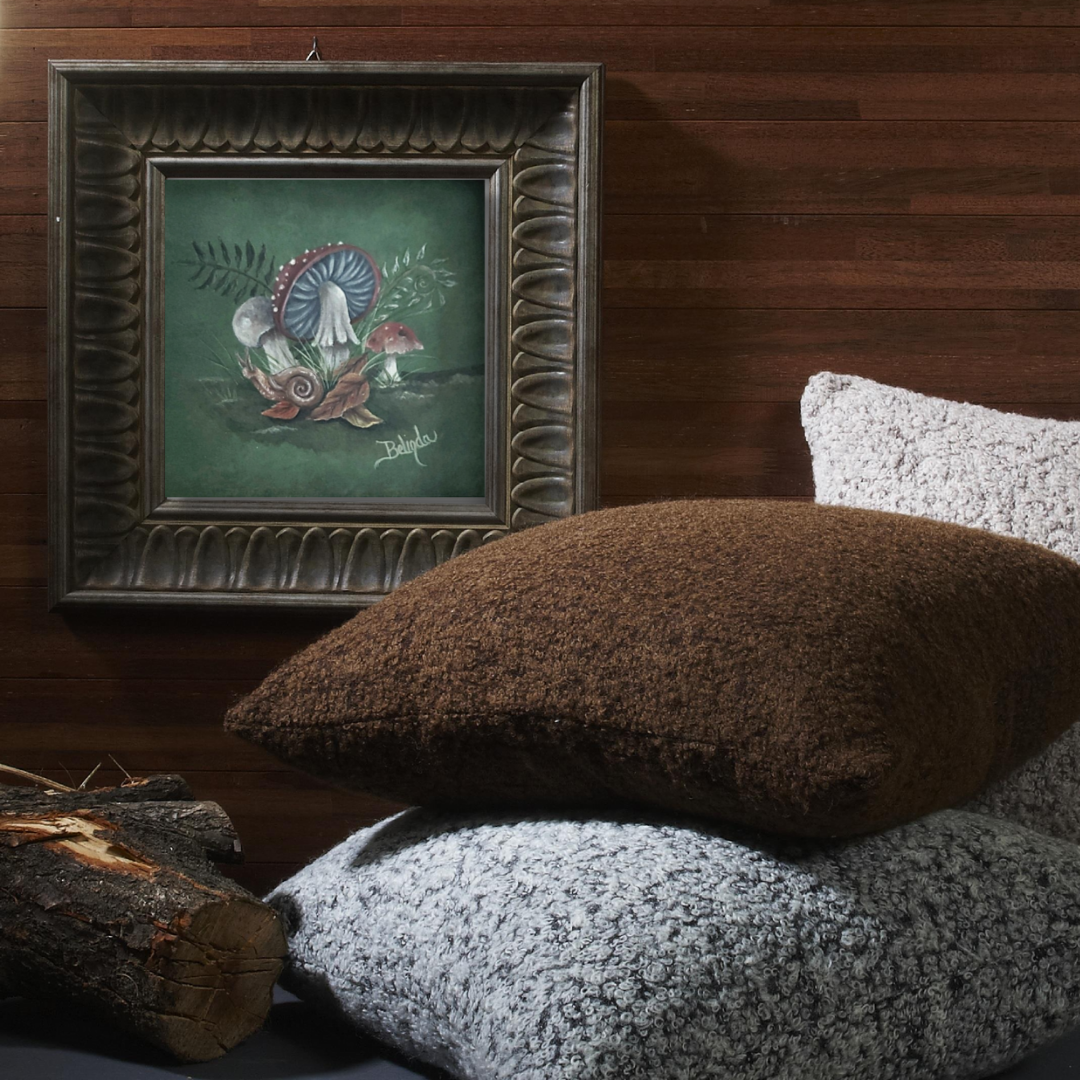
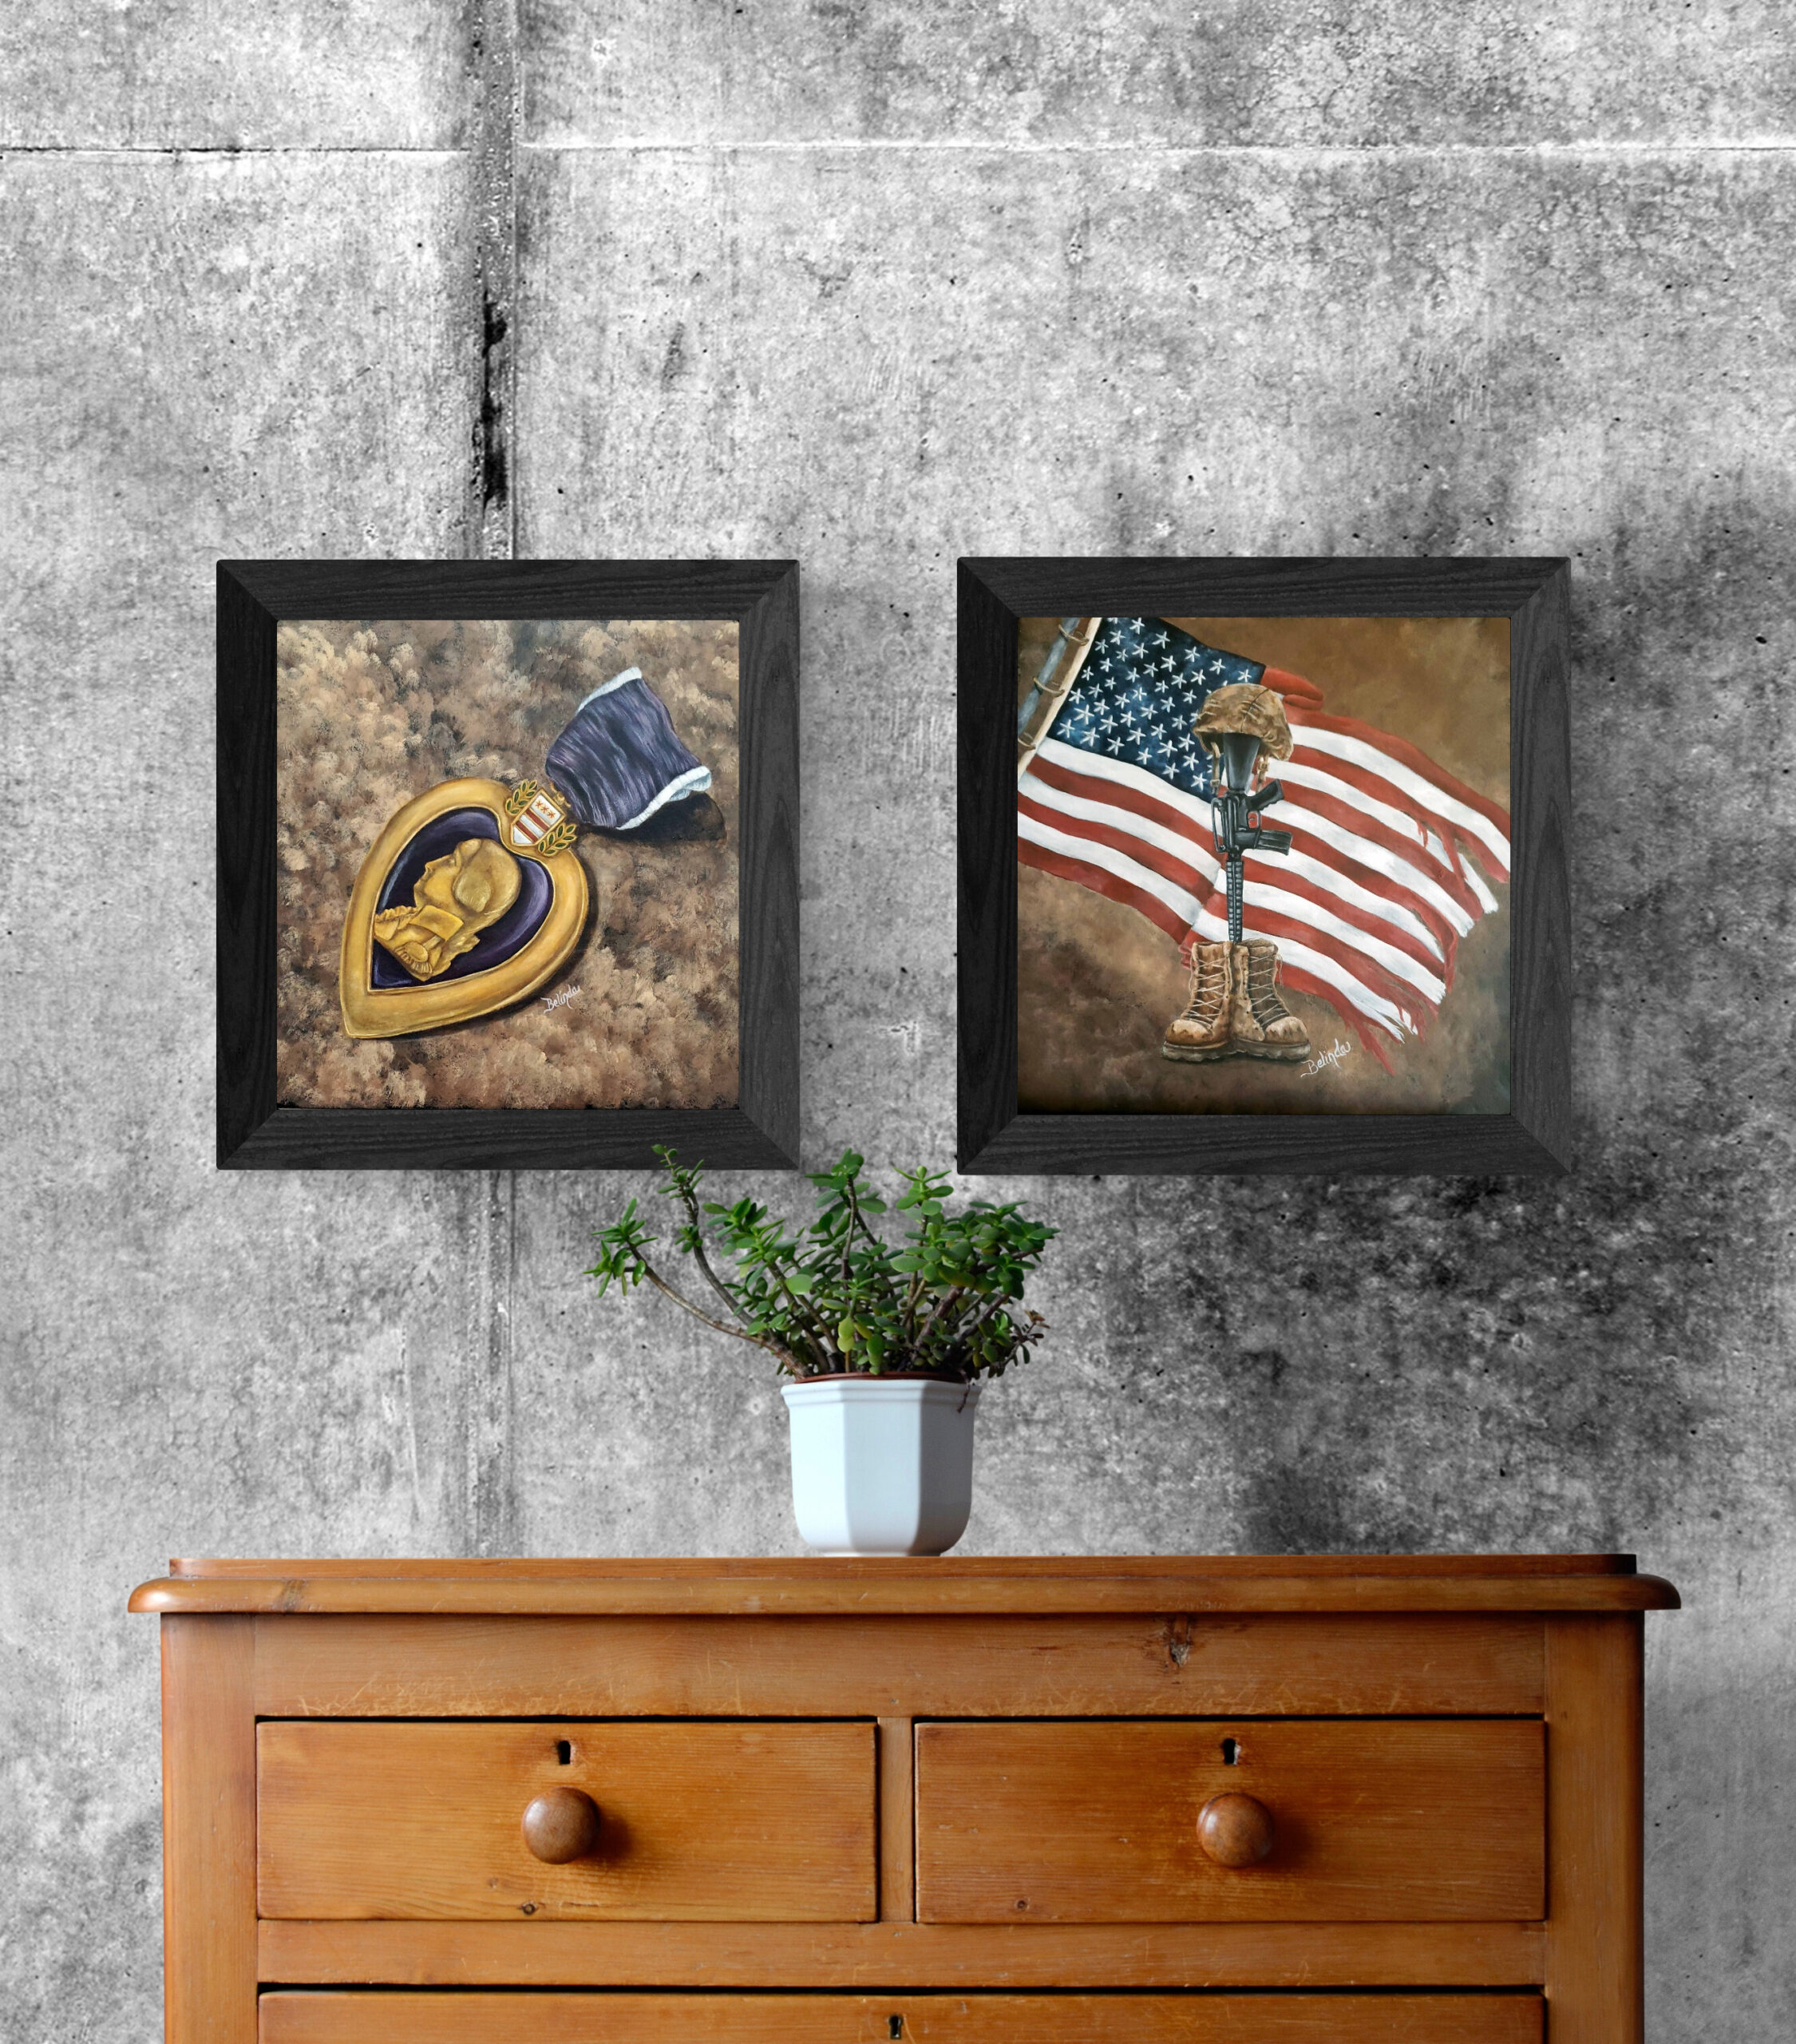
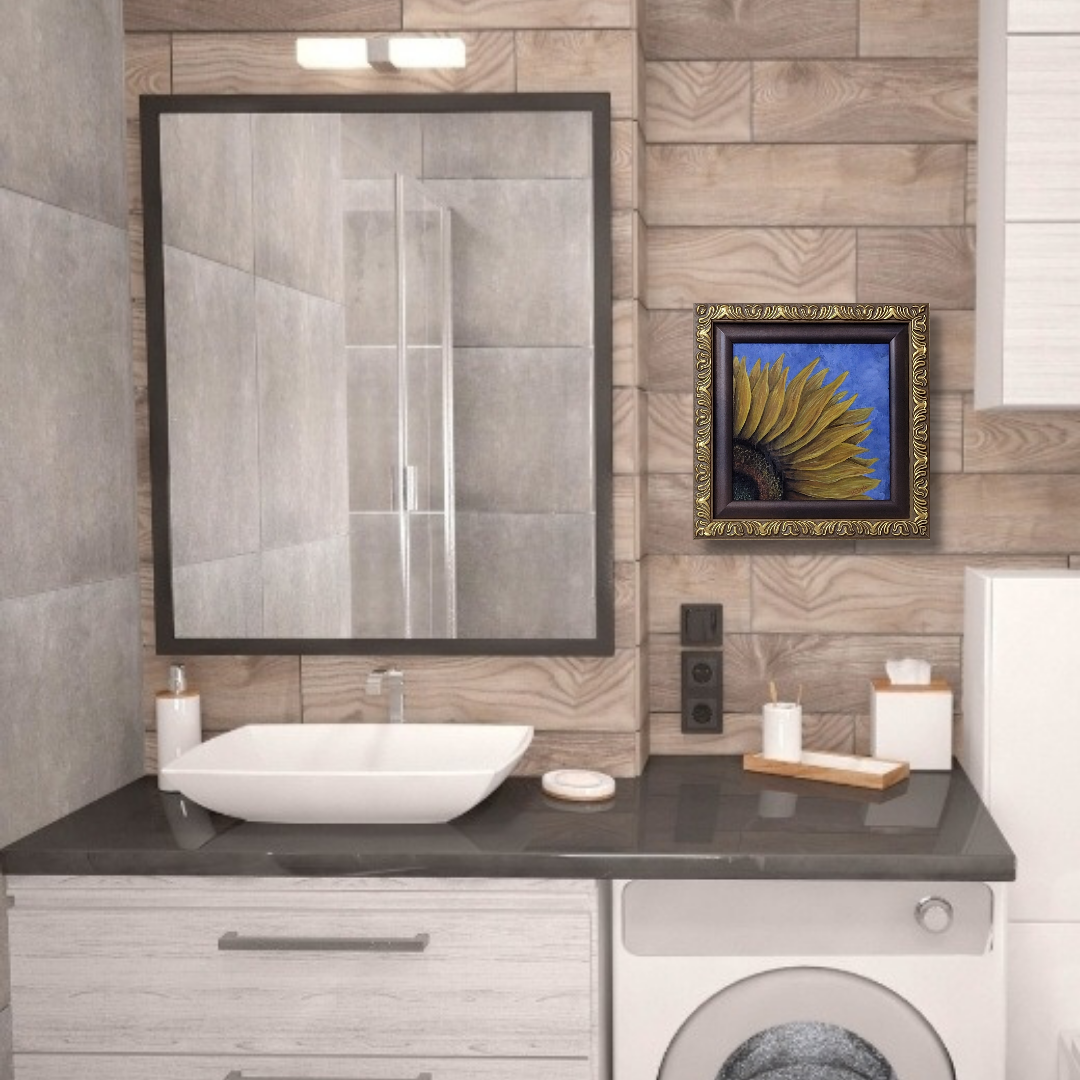
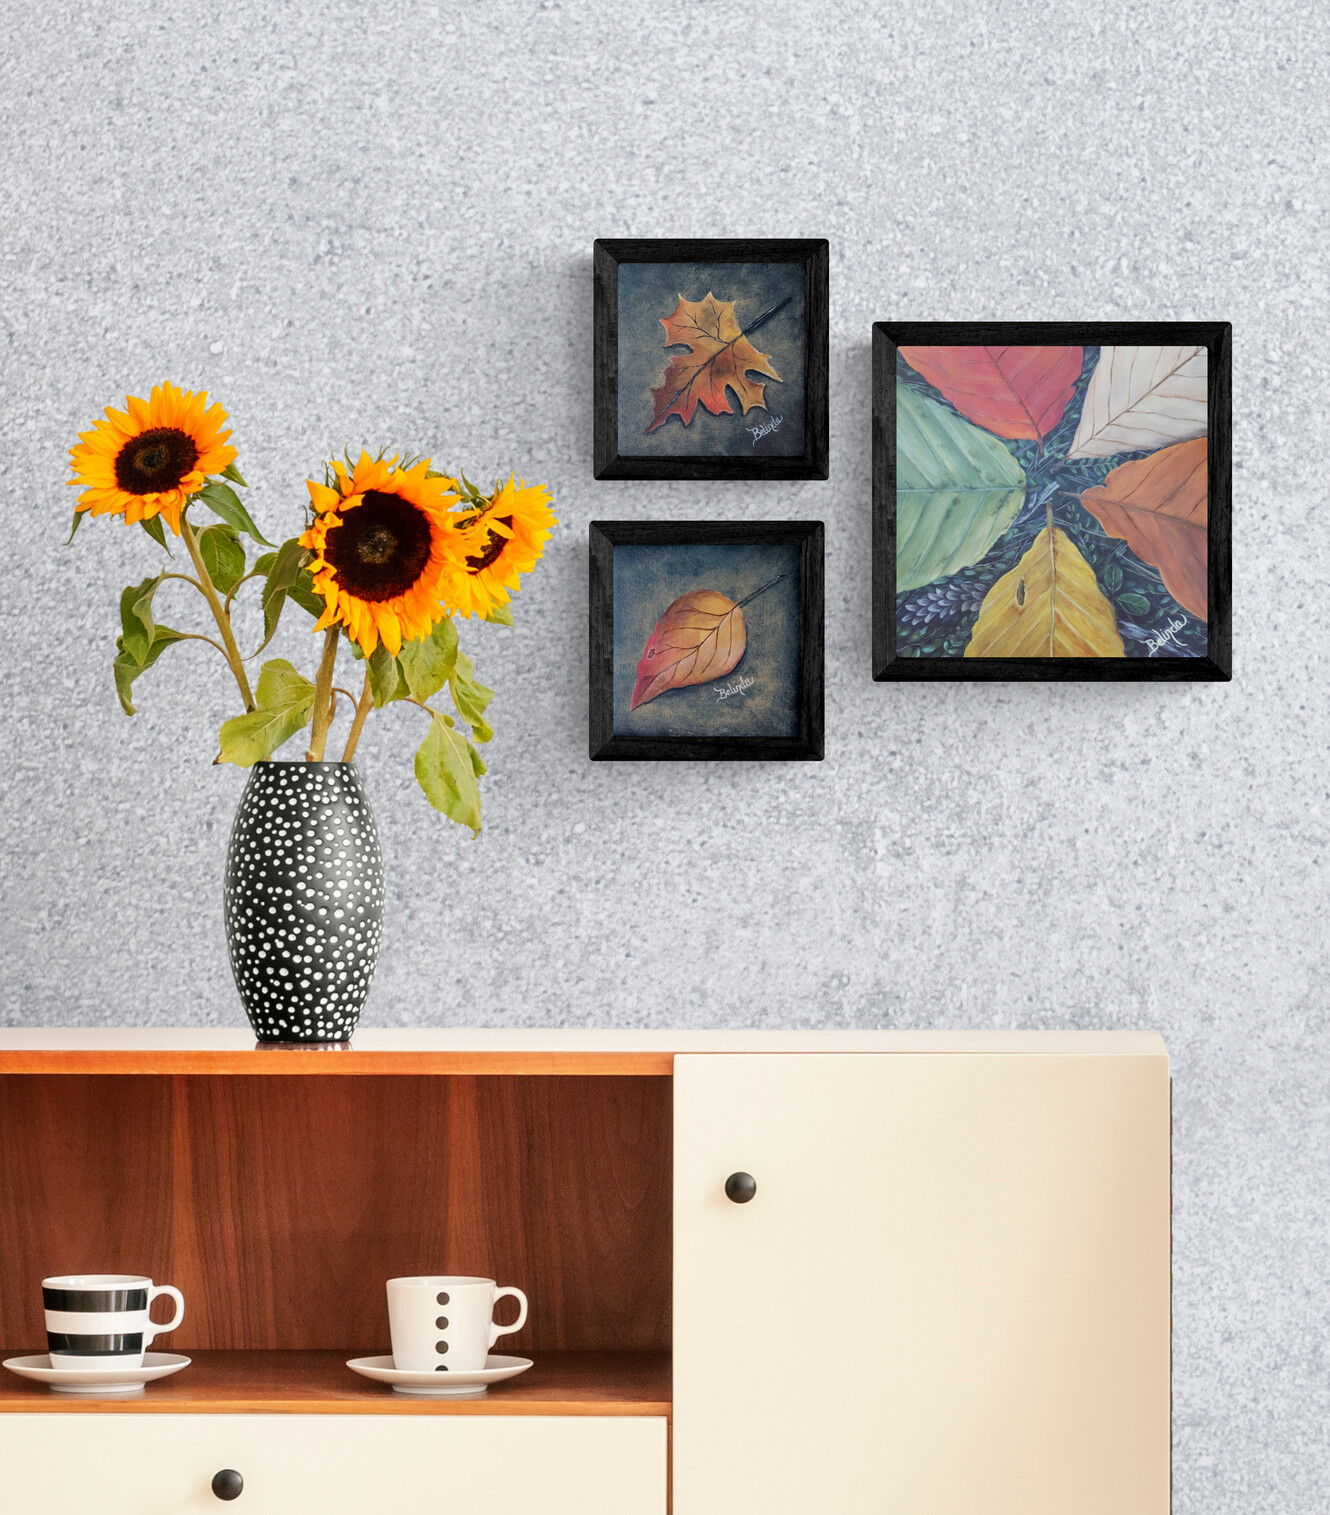
Step 6: Displaying Your Tile
Once you are finished with your tile it’s time to get to the part we’ve all been waiting for: displaying your piece. There are several different ways do this: inside or outside, framed or unframed, permanent or seasonal. The choice is yours.
Now you know the steps that I take to create my work and I hope these steps make it easy for you to create art on this amazing medium. If you have any questions let me know in the comments below and I would love to see that things that you come up with so feel free to send me pics of your work.
Thanks for visiting!
P.S. Make sure that you sign up for my monthly FREE ART GIVEAWAY! Just CLICK HERE or fill out the form below with your name and email address and you will be set to get your FREE art delivered to you instantly! A special Thank You from me to you!